Build a Reliable Picture of the Car
Make the first restoration decisions from what you can see, verify and record. A patient baseline helps distinguish repair needs from assumptions.
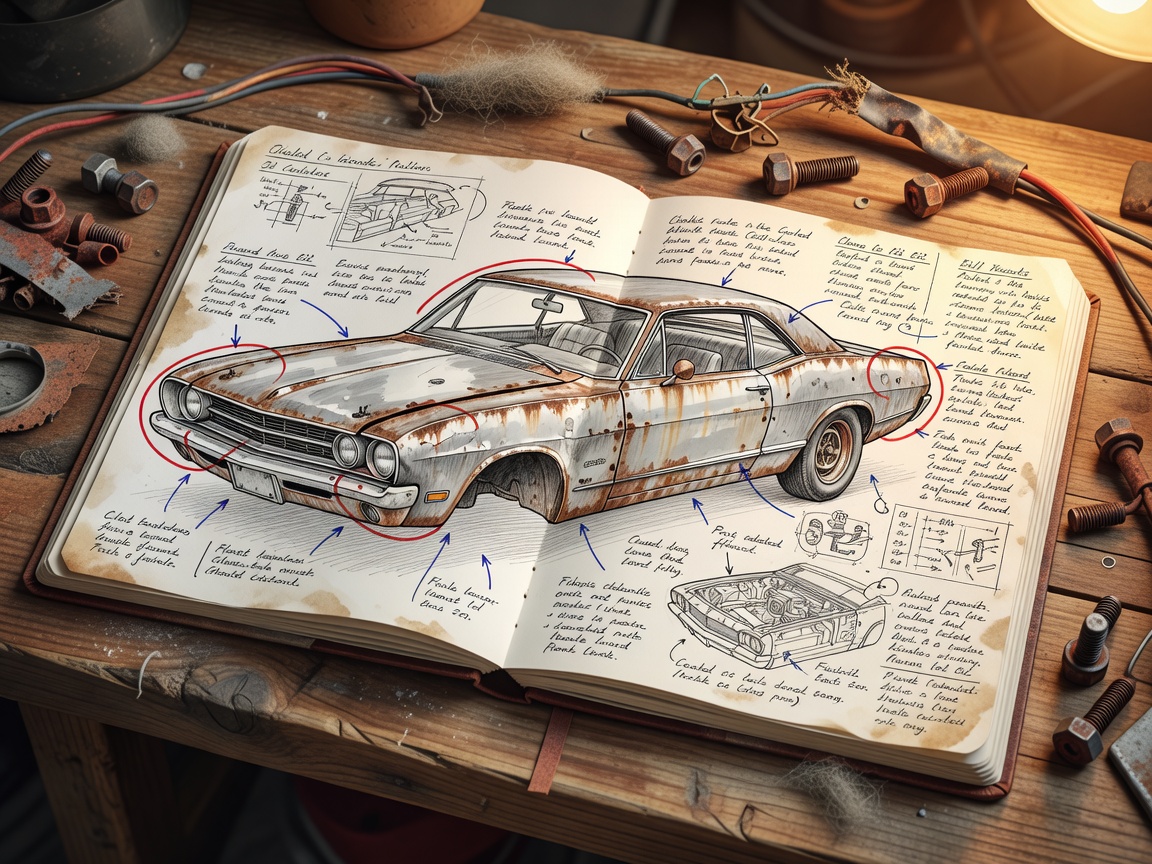
Assessment is not a verdict on whether a car is worth restoring. It is a structured way to understand the particular vehicle, decide what evidence is missing and establish a scope that reflects its condition and your aims.
Identify the exact car
Record the make, model, year or production period as supported by the available documents and vehicle identifiers. Note market specification, engine and gearbox details where they can be confirmed. Compare identification marks with reliable marque references and applicable local requirements; do not assume that a badge, registration document or previous owner’s description settles every question.
Gather ownership and service records, old invoices, manuals, photographs, inspection documents and any parts lists. Note gaps rather than filling them with guesses. A chronology of known work, storage and changes can help a specialist understand what they are looking at.
Photograph and inventory before dismantling
Take dated, well-lit photographs from repeatable angles: each side, front and rear, cabin, boot, engine bay, underside and areas of visible damage. Add close-ups of seams, repairs, corrosion, missing trim, wiring changes and labels. Put a scale or location reference in close-up shots where useful. Keep original files and use descriptive filenames so the images remain useful later.
Create an inventory for loose and fitted parts. Record condition, location, fasteners and identifying marks. Photograph assemblies before removal, label bags clearly and store related items together. A simple spreadsheet or notebook works if it is updated consistently and backed up.
Separate observation from interpretation
Write “paint blistering at lower rear edge” rather than “panel must be replaced” until the area has been examined. Mark items as observed, tested, reported by someone else or still unknown. This prevents an early guess from becoming an expensive instruction. If a test could be unsafe or damaging, leave it to a qualified professional.
Use a small set of priorities: safety-critical, structural, mechanical, weather protection, completeness and finish. Their order can overlap, but keeping them visible helps stop cosmetic work from obscuring an unresolved issue.
Baseline condition checklist
- Vehicle identity and specification sources recorded.
- Exterior, cabin, engine bay, boot and underside photographed.
- Visible repairs, corrosion, leaks and missing items noted by location.
- Known operating functions and untested systems distinguished.
- Documents, parts and loose components inventoried.
- Open questions and specialist inspections assigned for follow-up.
- Intended use and provisional project limits written down.
Turn findings into a workable scope
Group tasks by dependency, not by excitement. A body repair may affect alignment and fit; a mechanical repair may depend on access or parts; paint should wait until substrate and panel preparation are agreed. Ask for itemised estimates based on inspected work, and clarify what is excluded, what assumptions are being made and how discoveries will be approved.
Revisit the plan when new evidence appears. A realistic restoration scope is a living document: keep the original record, date revisions and explain why priorities or specifications changed.