Establish the evidence
Map visible corrosion, previous repairs, distortion, seams and attachment points; request further inspection where needed.
Paint can make a car look complete; only careful inspection can establish what lies under it. Record the evidence, plan support and repair sequence, and verify fit before cosmetic work.
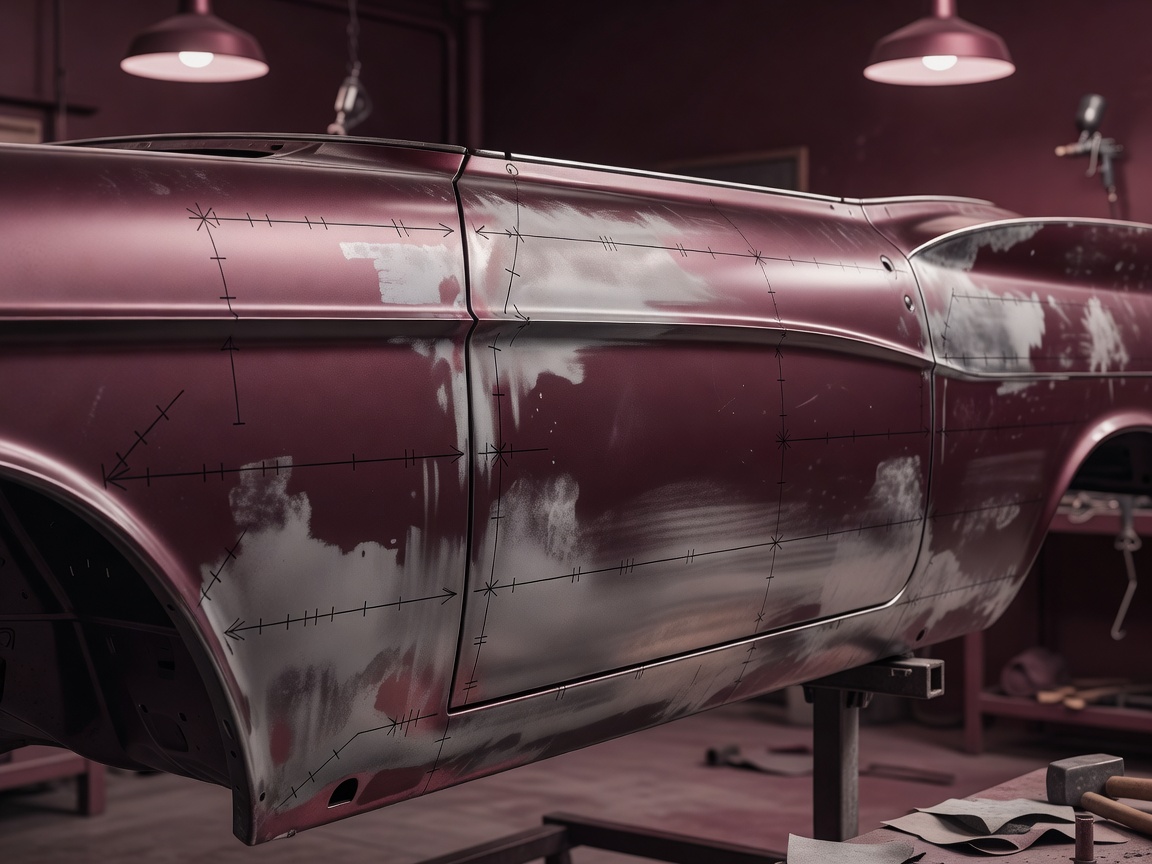
Body and structural work varies by model, construction, prior repair and intended use. A general guide cannot diagnose a specific shell. Treat inspection, support and repair decisions as vehicle-specific, and bring in an experienced body specialist when the condition or method is uncertain.
Start with the underside, wheel arches, sills, floor, suspension and mounting points, seams, lower edges and areas where water or debris collects. Look for distortion, cracking, perforation, soft areas, mismatched welds, thick filler or coating that hides previous work. A surface mark is a clue, not proof of the extent beneath it.
Photograph locations consistently and describe what is visible without overstating a diagnosis. If the car needs cleaning to inspect it, use methods that do not erase evidence or damage fragile material. Keep a clear record of anything removed to improve access.
Some bodies rely on panels and structure to maintain their shape. Before lifting, cutting or removing a structural section, establish how the car will be supported and what reference measurements need preserving. Follow model-specific repair information where available. Do not rely on a generic sketch for a safety-critical operation.
Agree with the repairer which sections will be addressed, how adjacent areas will be protected, what replacement material or repair method is proposed and how alignment will be checked. For staged work, define what must be completed and inspected before the next area is opened. Keep removed material and photographs until the repair is documented.
Map visible corrosion, previous repairs, distortion, seams and attachment points; request further inspection where needed.
Agree safe support, measurements and the areas that must stay in place while repairs are performed.
Record repair boundaries, methods and checks. Pause if new discoveries change the scope or the car’s alignment.
Confirm gaps, closures, edges and mounting fit before committing to preparation and paint.
Trial-fit relevant panels, trim, seals and closures according to the agreed specification. Check that doors, bonnet and boot operate as expected and that visible gaps are consistent with the car and repair plan. Do not assume a cosmetic adjustment can compensate for an unresolved structural issue.
Ask how repaired and enclosed areas will be protected against corrosion and how drainage paths will remain clear. Discuss compatibility of primers, seam treatments and coatings with the later paint system. Record products and application details for future maintenance.
Structural repairs, lifting points and welding require appropriate skill, equipment and safety controls. If the car’s support, metal condition or repair specification is unclear, pause and get an experienced professional to inspect it. A staged, documented repair is easier to evaluate than a large area made inaccessible by hurried finishing.
Cookies on this site We use necessary cookies to run the site and, with your consent, optional ones to measure visits. You can change this at any time. Read more